Hey! It was my mother's birthday yesterday. Since I already bought quilling tools, I decided I would give her my first go. :D It's actually pretty easy if you have the tools. Also, because I am a cheap person, I did not want to buy the more expensive pre-cut quilling papers and cut the cost by buying a A4-sized colored paper instead. I could get like 20 papers for Rp5,000 (about 50 cents US) than Rp20,000 (more than US$2.00) for less than a sheet of paper's worth of pre-cut papers. The paper should be 80-100 grams tho, otherwise it won't be rigid enough or too rigid/thick. However, if there is none near your place, I guess somewhere near that should be fine.
 |
| the tools |
Ruler, colored paper, safety knife (called 'cutter' in my country), paper glue, scissors and a quilling needle. the glue should come out transparent and should dry out quick, so you don't need to hold it for long. To apply the glue, search for a small points or objects like a toothpick.
 |
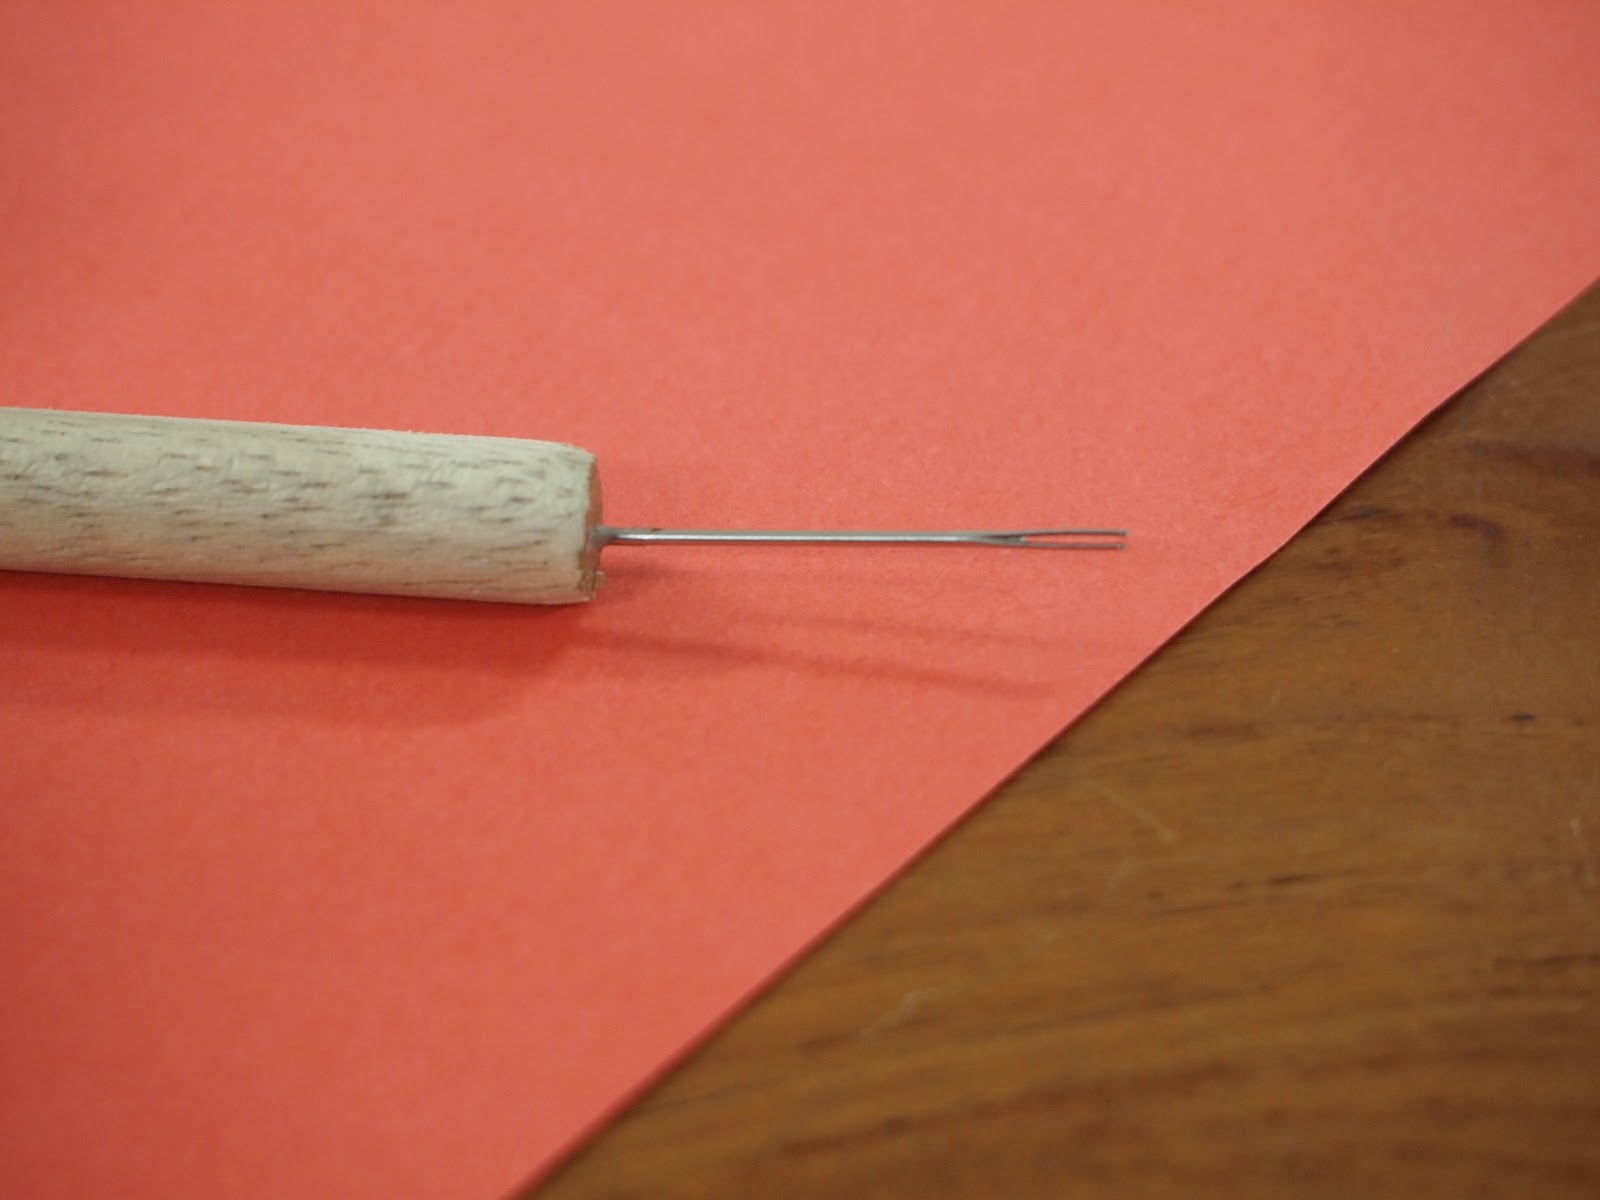
| quilling needle |
I know there is another type of quilling needle, but this was the only type sold near my place. Although, the shop is not even near my place, it's like a one hour drive. Bought it for Rp20,000 (more than US$2). Here is how I made it:
 |
| cut the papers to strips |
Thickness may vary depending on your preverance and how popped up you want your creation to be. I made mine 6 mm thick (wide), but standard ones may be 1.5 mm, 3 mm, 6 mm, and 8 mm.
Put the quilling needle near the end of you strip, flip the end. Then, begin twirling the strip around the needle. I did paper around the needle instead of twirling the needle because I want my "roses" or roll to be loose. From my tries, I found that if I "drilled" the needle instead of circulating the paper, the roll became dense.
 |
| apply the glue |
 |
| cut the excess paper |
how long you use the strip will be up to you, how large do you want your rose to be. It will also depend on the density of the roll/rose.
The rose! Though it's lacking some leaves. So, I made some using
kertas krep (I am not sure what the english is, but I'm guessing it's called crepe paper [update: there is a possibility it's called tissue paper]. Please let me know the correct naming.) I used a green one to make leaf shapes and vines. I made the vines by cutting long strands and twirl them a little.
 |
| twirling the vines |
 |
| kertas krep |
Here you go! Just stick it on a paper using the same glue and decorate. You can use colorful pens, crayons, and/or pencils. you can also make more and arrange them together.
 |
| Love, Cynder |
 |
| My gift to my mom |
Why don't you try it out and show me :D
Pictures take by my friend Deenz


No comments:
Post a Comment